Raised Flower Bed
Raised garden beds are becoming increasingly popular in backyard designs. This quaint design can make a strong impact to your home. Not only do they add appeal, but they are very simple to build. That little vegetable garden you’ve been dreaming of can finally become a reality.
Follow this guide and in no time you will have your very own raised garden bed!
Tip: If you do decide to plant shrubs or vegetables, make sure that you put landscape fabric only on the sides because these plants usually have deeper root growth than flowers.
Materials List
- Basic tools
- Reciprocating saw
- Drill with 3/16", ½" bits
- Stakes and string
- 8-ft. 4x4 timbers (6)
- 6" stainless steel nails
- Landscape fabric
- Stainless steel roofing nails
- Topsoil
- Plantings
- Mulch
- Wood sealer/protectant
- Shovel
- Paintbrush
Step 1: Prepare the Site

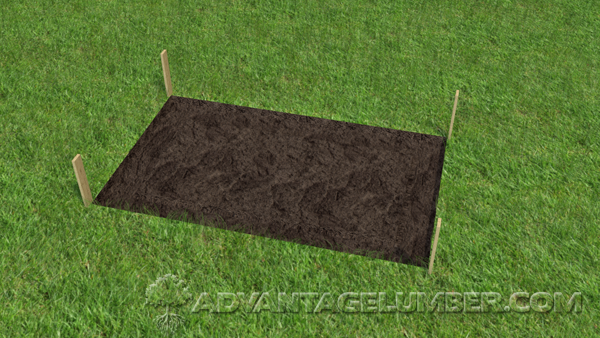
A.) Outline a 5x3 ft. area with stakes and string to mark the location of the bed. Use a shovel to remove all of the grass or weeds inside the area.
B.) Dig a flat, 2"-deep, 6"-wide trench around the perimeter of the area, just inside the stakes.
Step 2: Build & Level the Base

A.) Measure and mark one 54" piece and one 30" piece on each 4x4. Hold each timber steady on sawhorse while you cut it using a reciprocating saw.
B.) Coat each lumber with a wood sealer/protectant. Let the sealer dry completely.
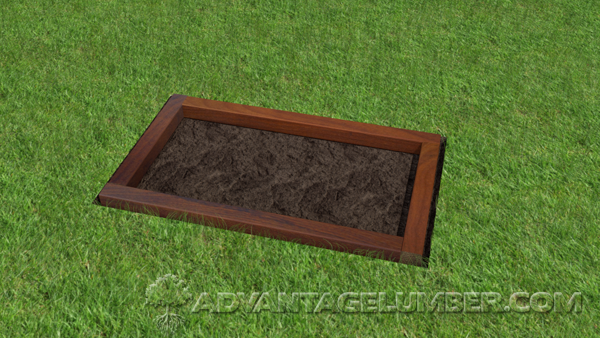
C.) Lay the first row of the lumbers in the trench. Situate a level diagonally across a corner, then add or remove soil to level it. Repeat with remaining corners.
Step 3: Finish the Raised Bed

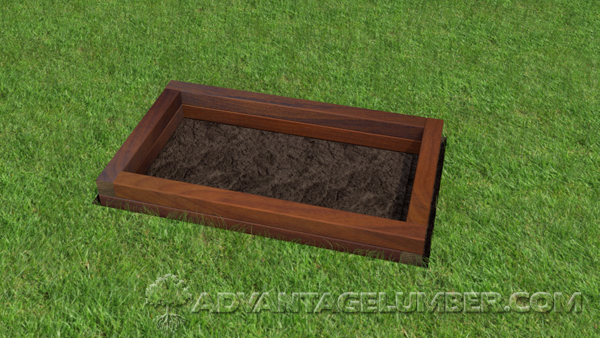
A.) Set the second layer of lumbers in place, staggering the joints with the joint pattern in the first layer.
B.) Drill 3/16" pilot holes near the end of the lumbers, and then drive the stainless steel barn nails.

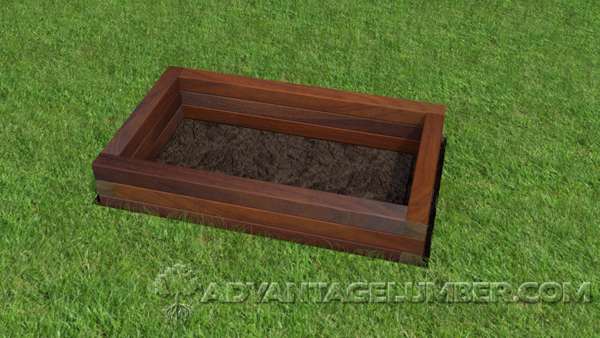
C.) Lay the third row of lumbers, repeating the pattern of the first row to stagger the joints.
D.) Drill pilot holes through the third layer, offsetting them to avoid hitting the underlying nails. Drive the nails through the pilot holes.
E.) Drill ½" drainage holes, spaced every 2 ft., horizontally through the bottom layer of lumbers.

F.) Line the bed with strips of landscape fabric, overlapping the strips by 6".
G.) Drive stainless steel roofing nails through the fabric, attaching it to the lumbers.
Step 4: Finish with Soil and Plants

A.) Fill the bed with topsoil to within 4" of the top. Tamp the soil lightly with a shovel.
B.) Add plants, loosening their root balls before plating. Apply a 3" layer of mulch, and water the plants.
Now that you’ve finished your garden bed, finish your design by building more! Check out our other how-tos for even more design inspiration!
